
I’ve been pretty light this year with DIYs. My studio has been my work from home office for over a year now and honestly, it’s been great for my mental health to be able to close the office door at the end of the workday and not look at it until it’s time for work again. That’s also meant that I haven’t been playing around with DIY supplies in far too long and it feels good to get back into it with this silly project. Maybe you’re feeling the WFH fatigue as well and this “uniform” can be a creative charge too.
You’ll Need
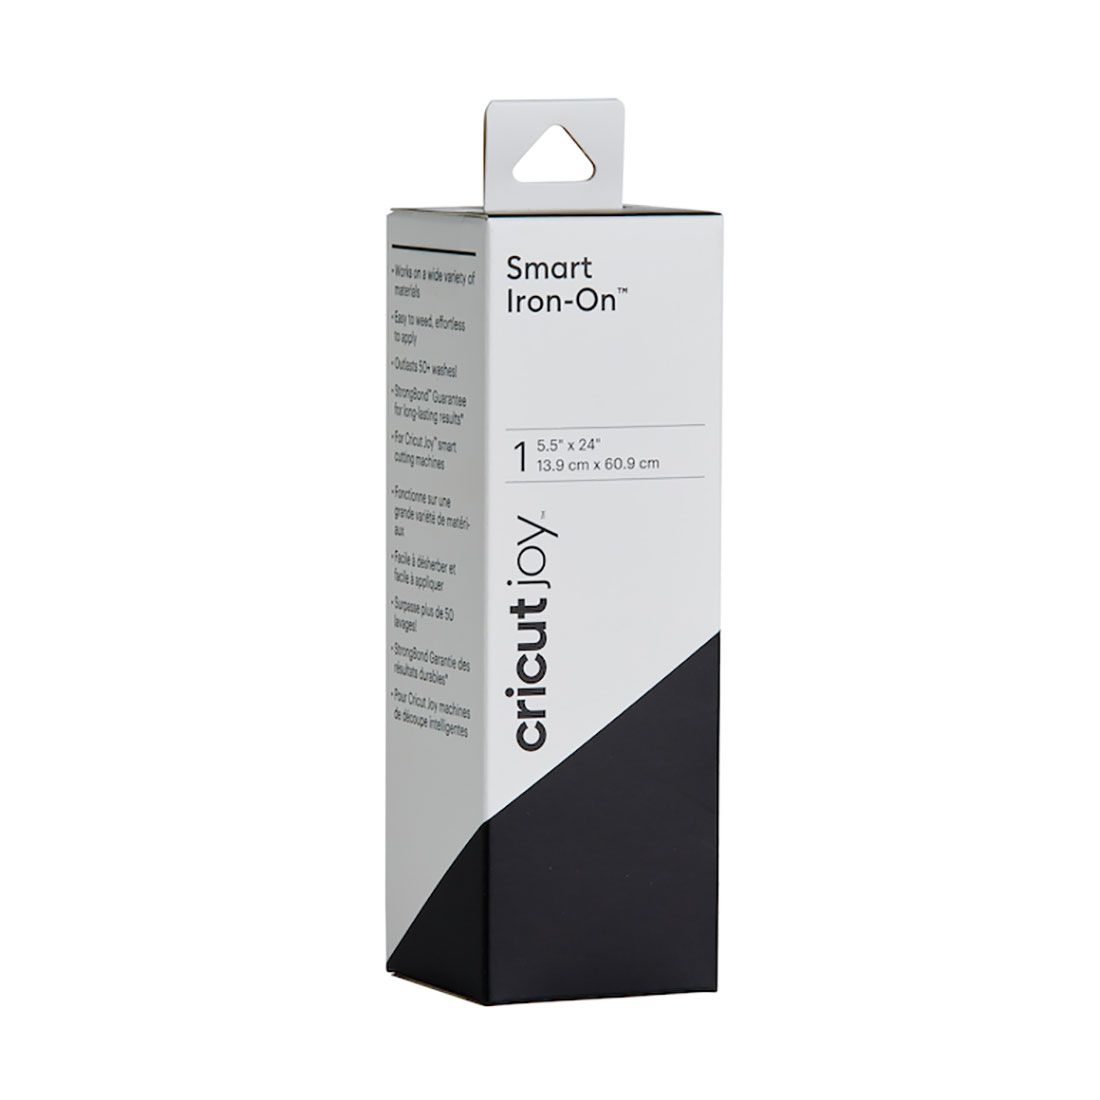
iron-on vinyl
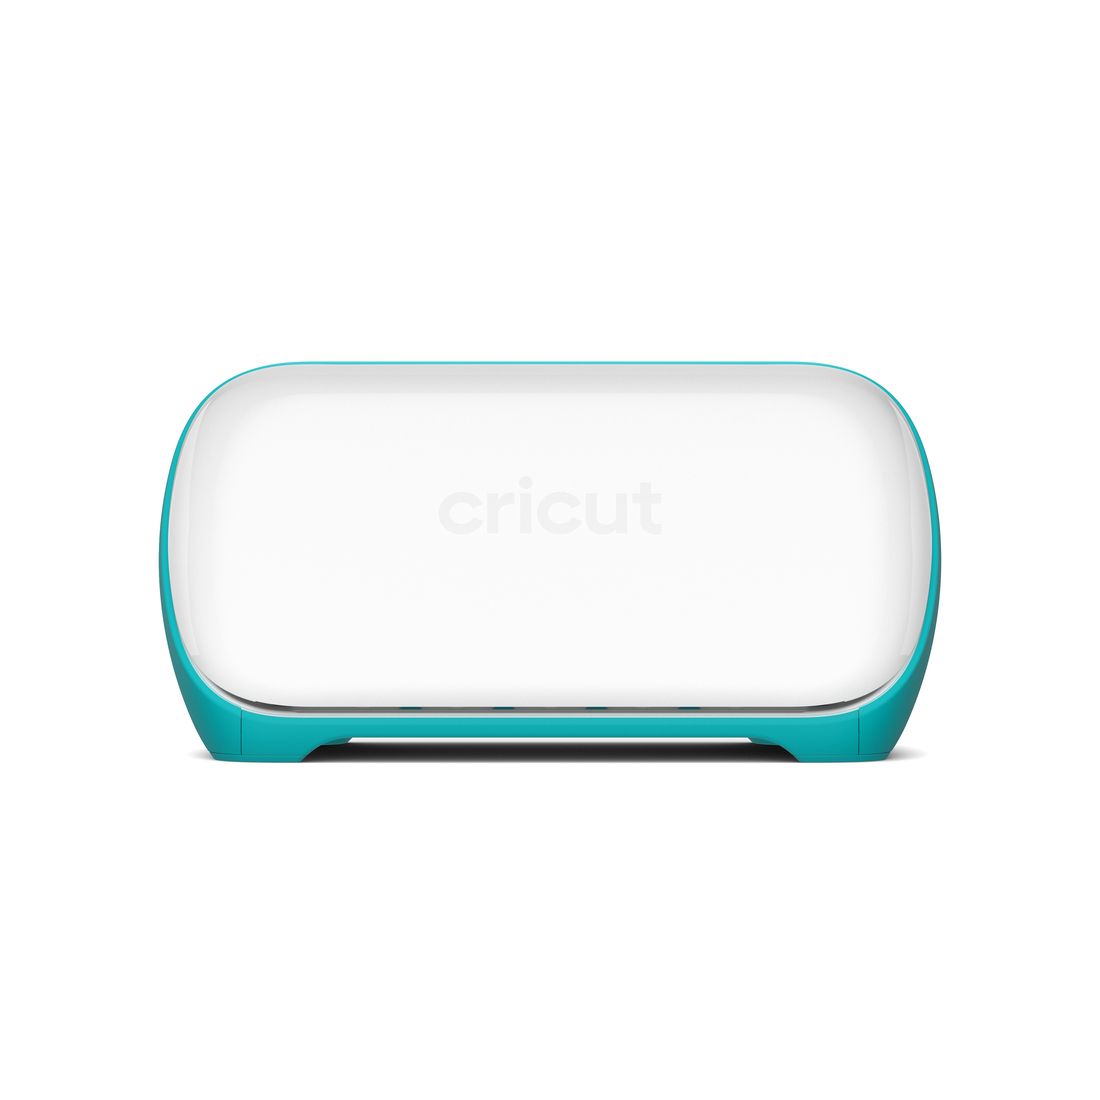
Cricut* (any model)
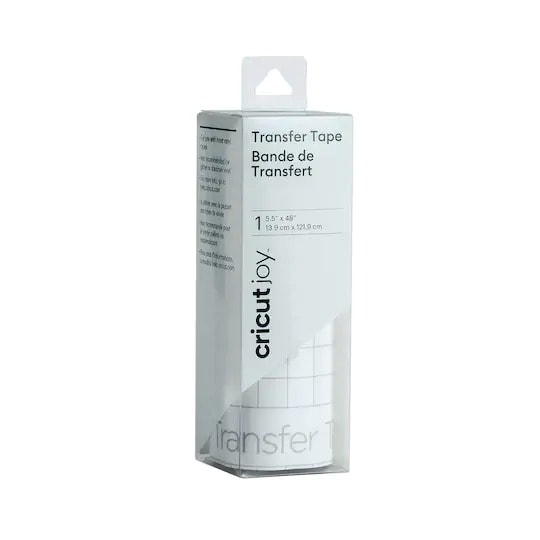
transfer tape
OR iron-on letters
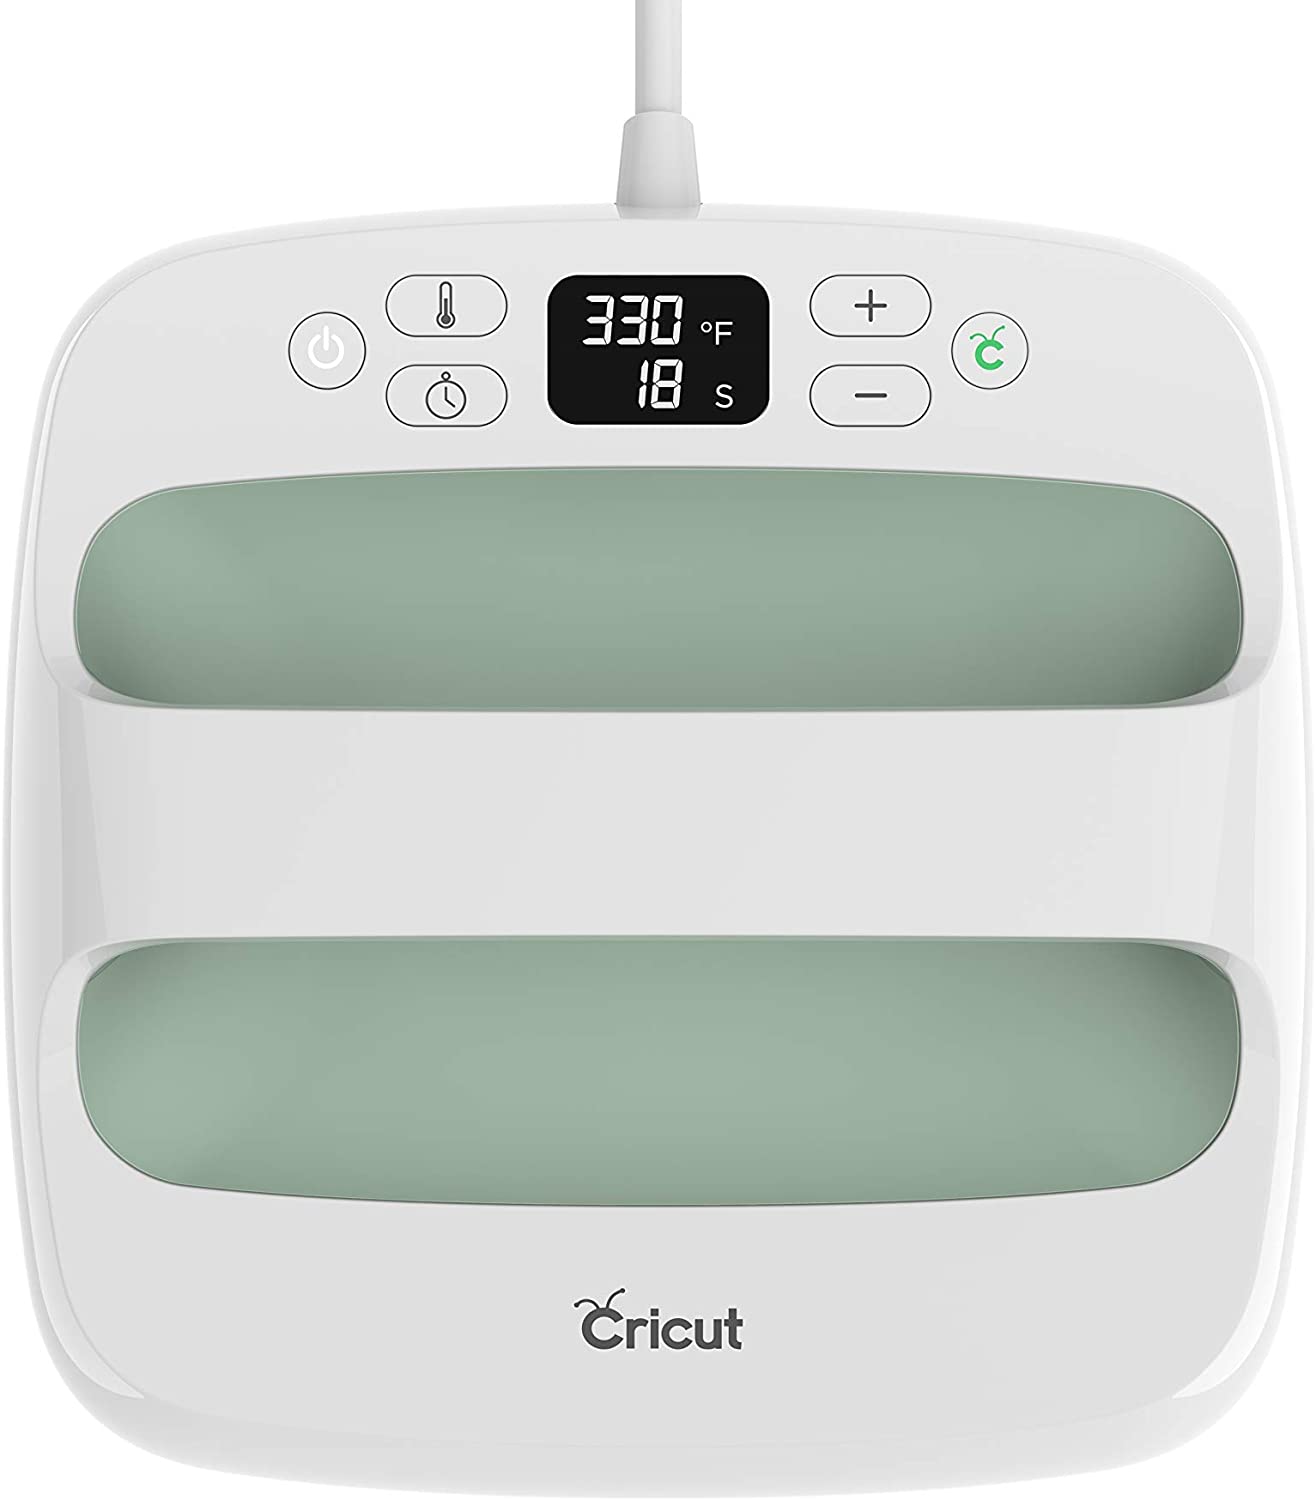
iron/heat press
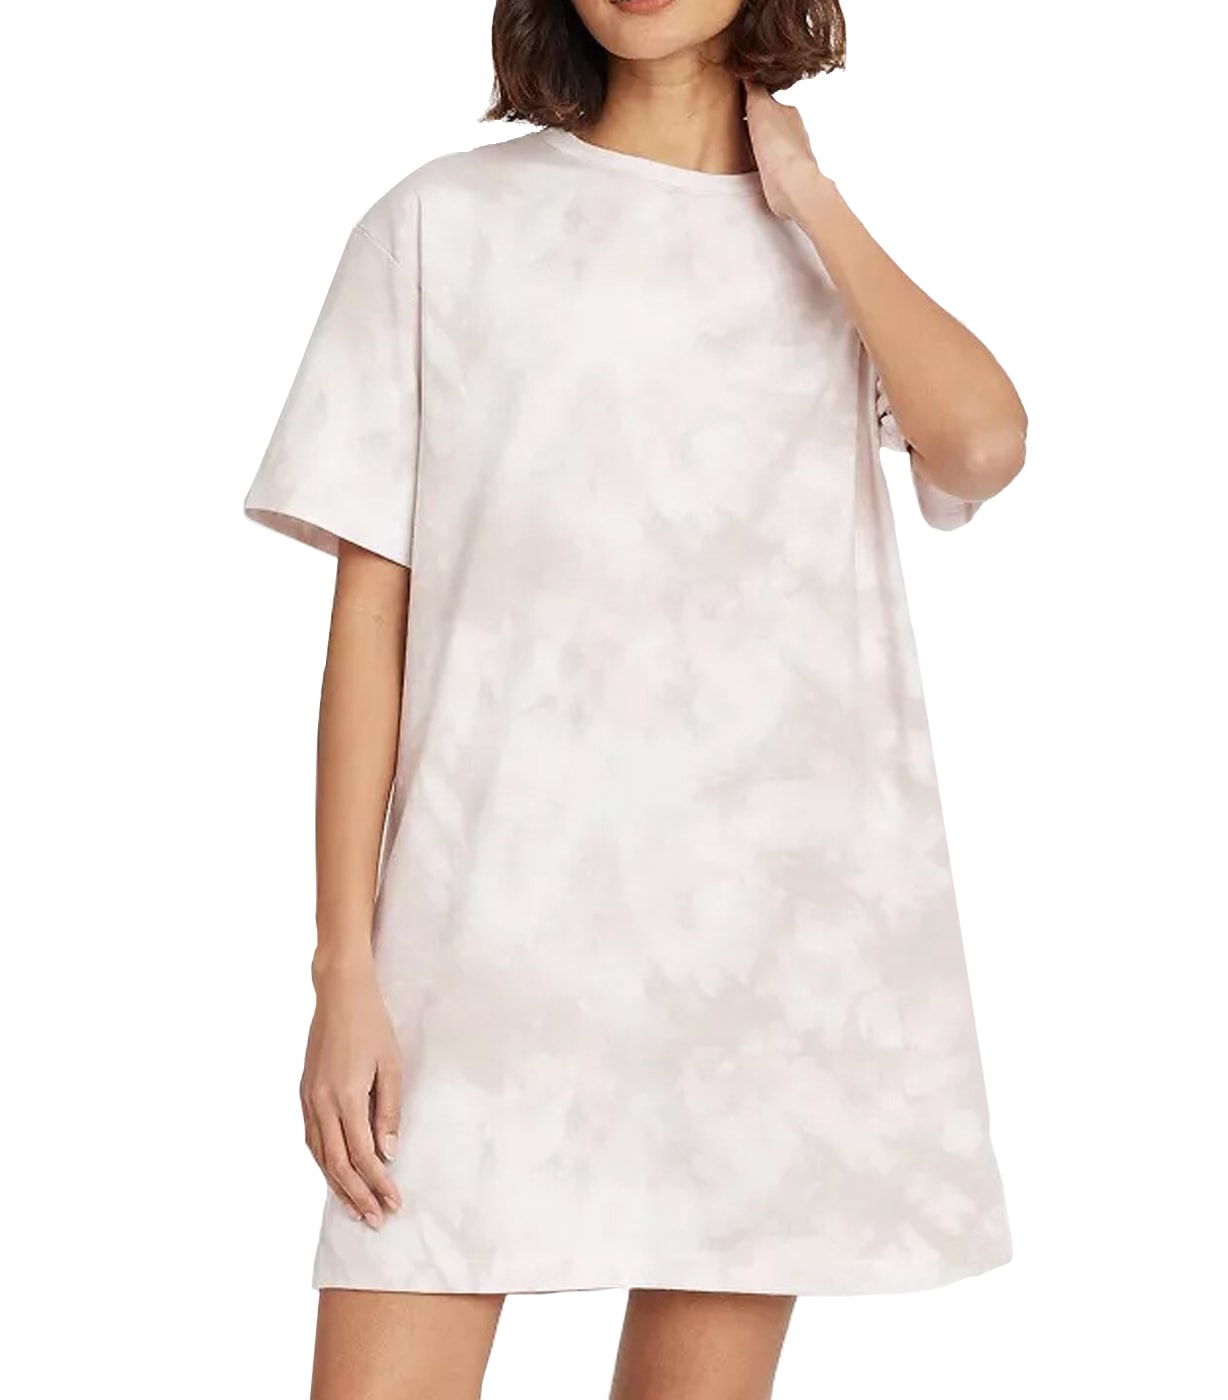
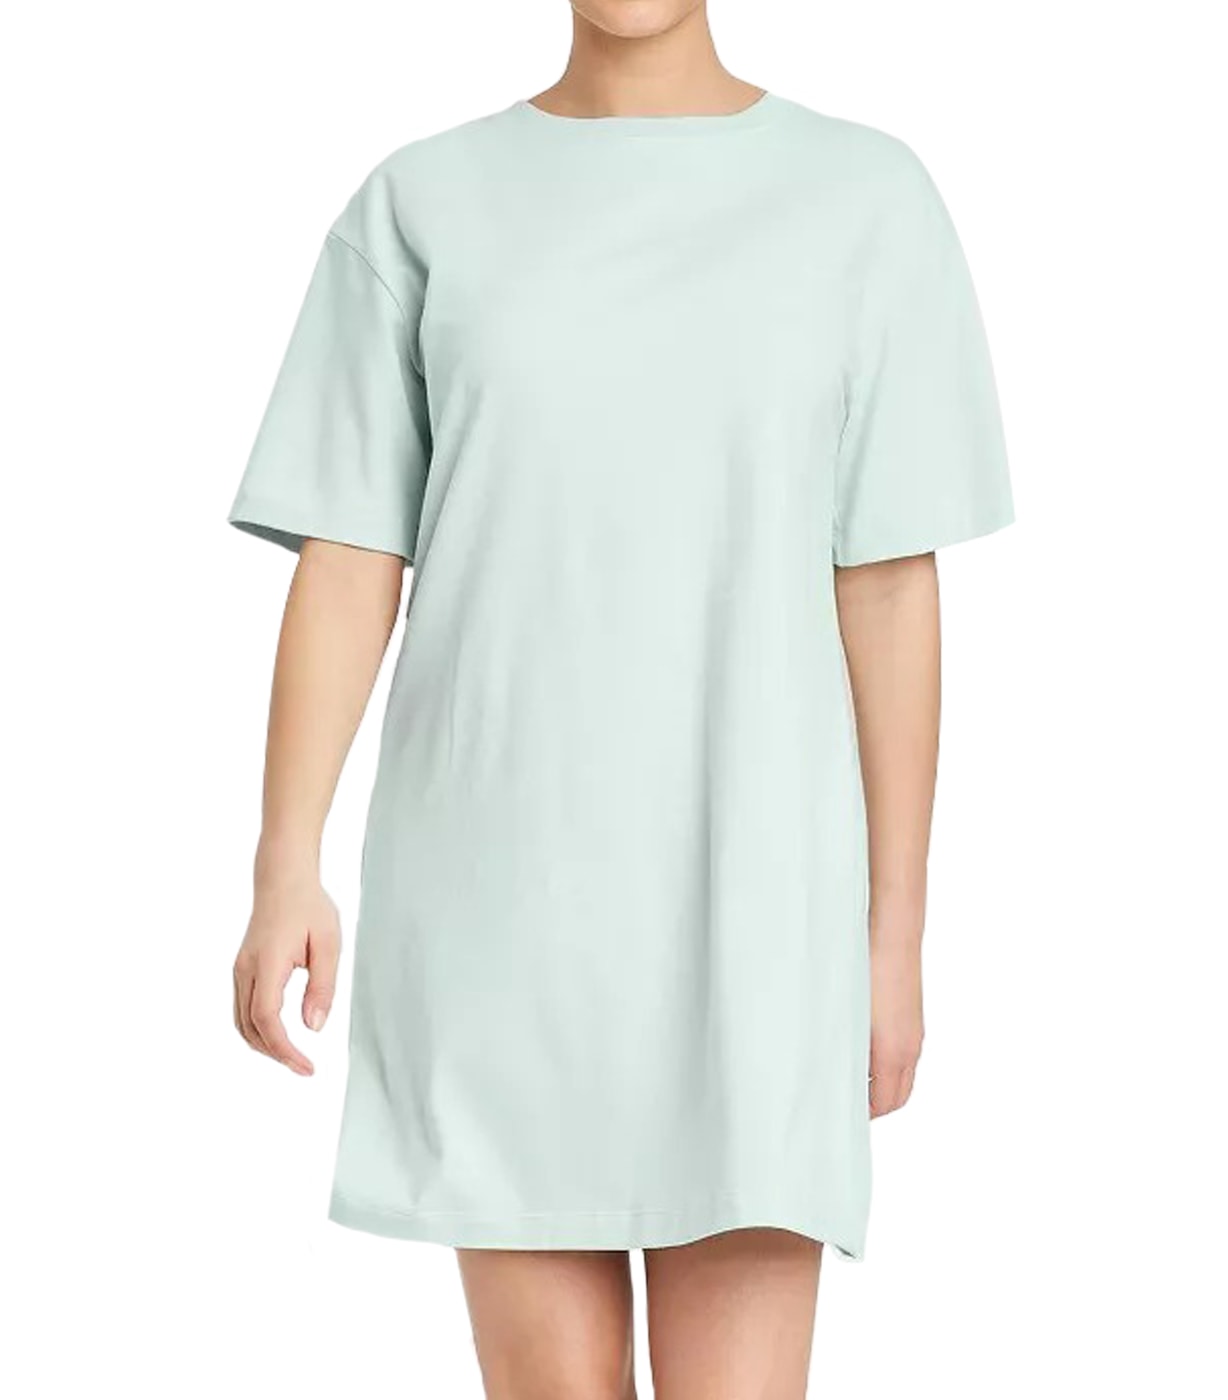
oversized tee
I used my Cricut Joy for this since the smart vinyl makes small projects so fast and I had these materials on hand, but you can order any kind of iron-on letters! This set is the closest font to the one I used.
- Prep your tee by ironing front & back.
- Skip this step if you’re using pre-made iron-on letters. Create your WFH text in the Cricut design space and make sure to “mirror” the image on the cut screen to work with the iron-on vinyl. Send to cut, weed, and apply transfer tape.
- Heat your shirt where you want to apply the letters for 30 secs on the highest setting for the material. Arrange your letters.
- Using the iron or heat press, start in the middle of your phrase and press down. Hold for a few seconds then pick up the iron and repeat for the rest of the letters. I like to do this before running the iron back and forth to minimize the letters shifting. Repeat and hold according to iron-on instructions. Let cool then remove transfer tape or backing per vinyl instructions.
I love the subtle text. It still feels Zoom appropriate but no one will know I pair it with biker shorts at home. The extra detail tricks my brain into thinking it’s real clothes all while being comfortable enough to Netflix binge.


 DIY Terracotta Earrings for a Summer Statement
  Throw a Terrazzo Galentine’s Day Party with DIY Terrazzo Wallets
  Breezy 5 Minute DIY Summer Rope Necklace
Leave a Reply